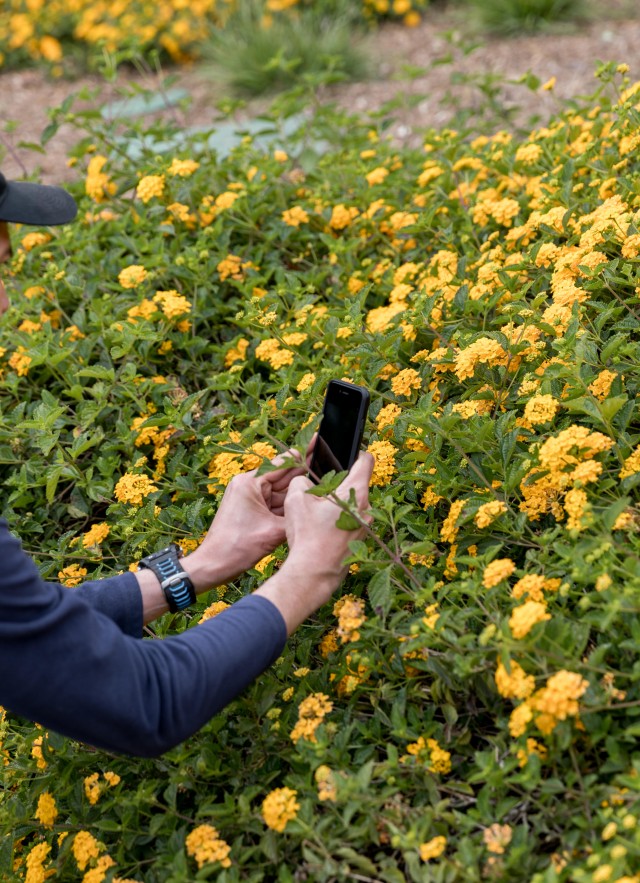
Taking Great Photos of Nature Observations

Photographs are a common way for scientists to record observations of living things. Using photography to document nature can be an excellent way to engage students in hands-on science practices. Cameras are also an excellent tool to keep students focused and engaged while exploring outside. Though many students may be familiar with using a smart phone or digital camera, they may not have had experience photographing wildlife or taking photos for the purpose of scientific observations. The guidelines outlined below will help your students take successful scientific photos while observing nature!
Tips and Tricks
Get to Know Your Camera
Taking a few minutes to allow students to get to know their camera’s features and limitations will help them be less distracted and take better photos of nature. For example, some cameras have special features— like waterproofing, a macro lens, or the ability to crop photos directly in the camera or camera app— that may be useful. Before attempting outside, it’s a good idea to give students some time to get familiar with their camera’s features in the classroom.
Adjust Focus
Show students how to get the subject in focus by tapping on the screen (right on the part that you want to be in focus). If the device won’t focus on the subject, it might be too close. Back up a little and try again. Remind students that they can always crop the photo if the subject is too small in the frame, but you can never fix a photo that is out of focus!
Correct Exposure
On most cameras, it is also possible to adjust the exposure (brightness or darkness). Show students how to change the exposure by dragging their finger up or down on the screen outside of the focus square. This is especially helpful if the subject is backlit. Caution students not to over brighten it, so they avoid losing the details that will help to identify the subject!
Capture the Moment
Some animals may fly or scurry away quickly when approached, so remind students to try to take a photo right away! After they are certain they’ve captured it with the first photo, they can attempt to frame the shot or get closer for a better picture. This way, if an animal moves before they get the perfect shot, there will still be the initial photo as documentation.
Capture Different Angles
Encourage students to get a couple of angles of each subject. Of course, this is easier with plants and animals that move slowly! Ask students to try to take a profile (side view), an overhead shot, a shot of the animal’s face, and even the underside if possible. Scientists who study snails and slugs, for example, sometimes need all these angles to identify a specific species.
For each observation or photo, ask students to consider whether or not they would be able to identify the individual or species based only on the photo.
Things to Keep in Mind
Especially for students who have had limited experiences in nature, the outdoors can be a distracting or even over-stimulating place. In order to help them be successful, give instructions in the classroom and allow students time to practice using their cameras with the above guidelines before applying their skills outside. You can model the process for students or do a practice round with man-made objects from inside the classroom so they know what to expect.
Safety is key!
Your safety and the safety of the wildlife you are photographing should always be the priority. Remind students:
- Many insects fly straight up to avoid predators, so make sure students don’t position themselves directly above bees, wasps, and other flying insects.
- When lifting up a rock or board to look for animals underneath, lift it up from the far side and look over the top with camera ready. That way, if an animal runs, swims, or slithers out, it will be moving away from, rather than towards them!
- After taking photos, put the rock or board back exactly as it was found in order to preserve the animal’s habitat.
Additional Resources
- Share your nature observations with NHMLAC scientists and other naturalists using iNaturalist. Be sure to check out their Teacher's Guide and Video Tutorials before getting started!
- Learn how to compose a work of art with these tips on Nature Photography from Las Fotos Project