Your Fossil Discovery
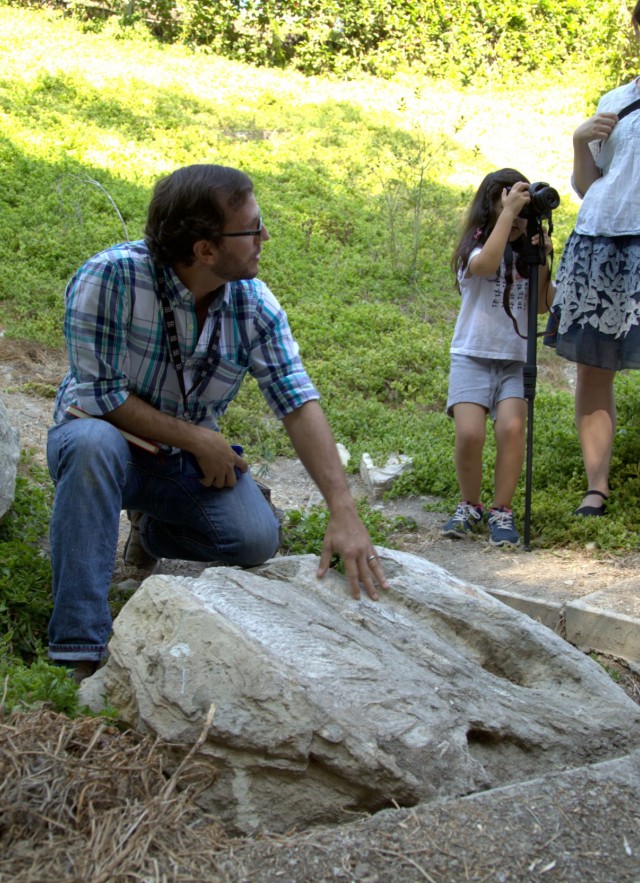
Fossils provide a valuable record of the plants, animal life, and environmental conditions from millions or even billions of years ago! What should you do if you think you found a fossil in your neighborhood?
The guide below from our Museum staff will help move you through the fun and informative process of scientific discovery.
I think I found a fossil; what should I do with it?
Juliet Hook, Assistant Collections Manager, Invertebrate Paleontology, explains:
If you think you found a fossil, the most important thing to do is to leave it exactly where you found it.
When paleontologists study a fossil, it is very important to know precisely where it came from to learn more about it. The location can tell us how old the fossil is and what other fossils may be around it. Also, it is important to know that taking anything out of a national park or a publicly owned park is not allowed. Alert a park ranger or staff member from the park if you find something.
What exactly are fossils?
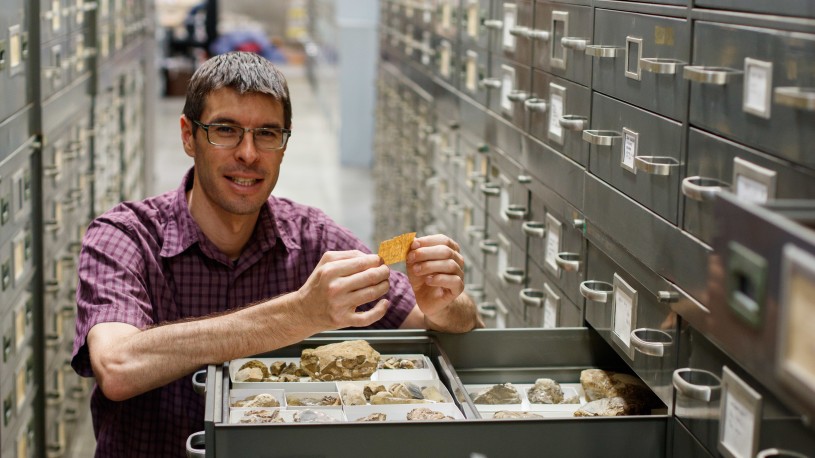
Jorge Velez-Jurabe, Associate Curator, Mammalogy (Marine Mammals) explains:
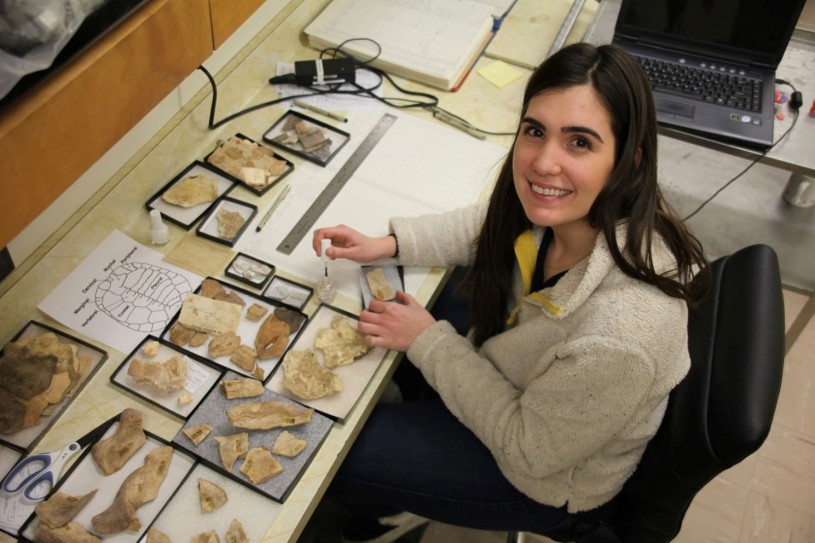
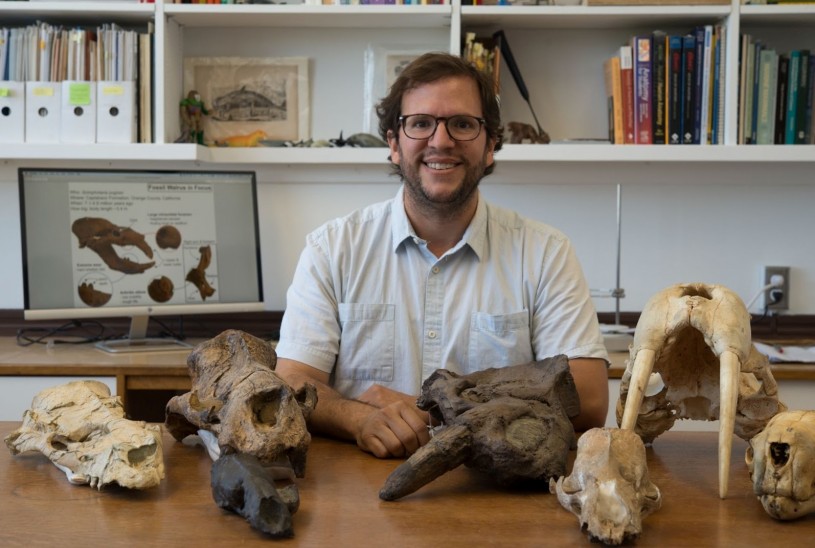
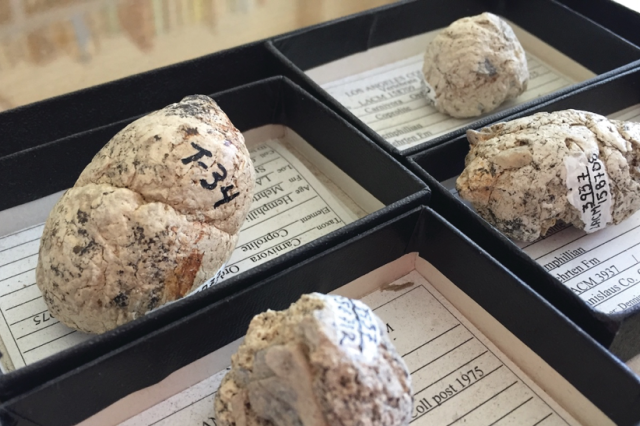
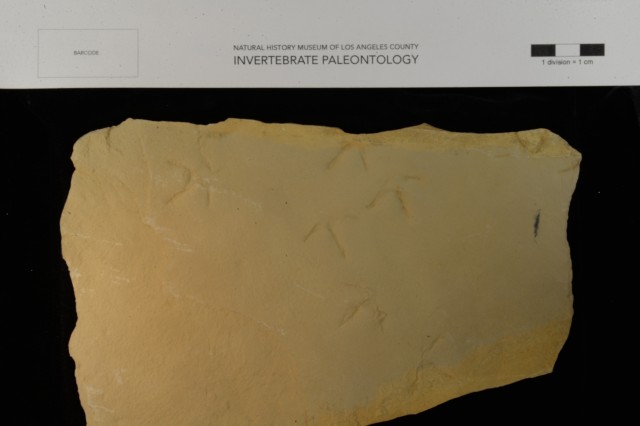
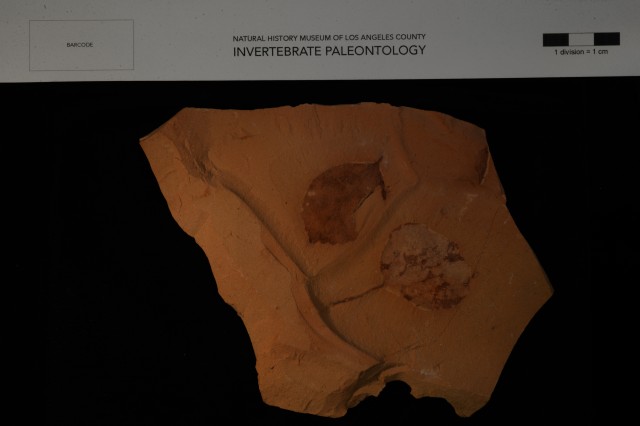
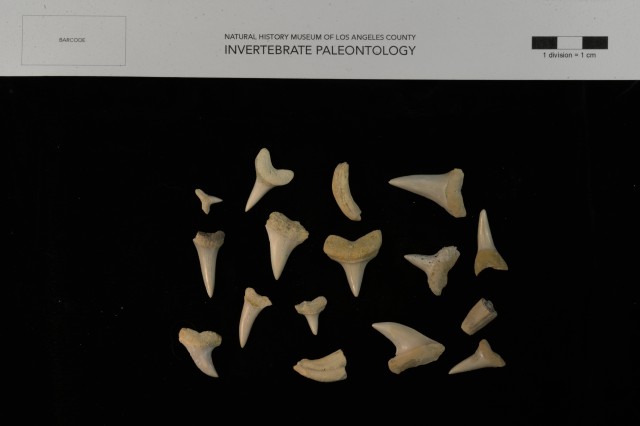
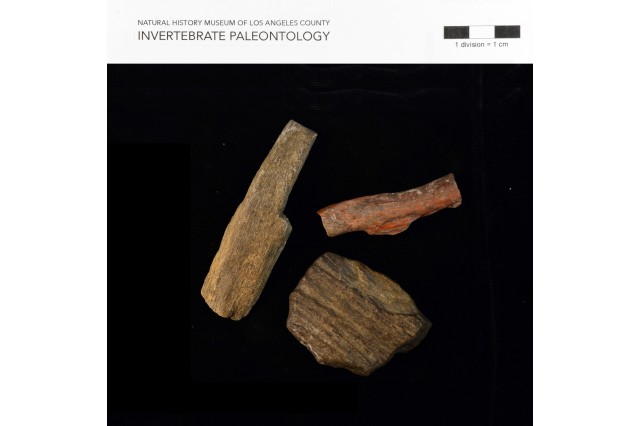
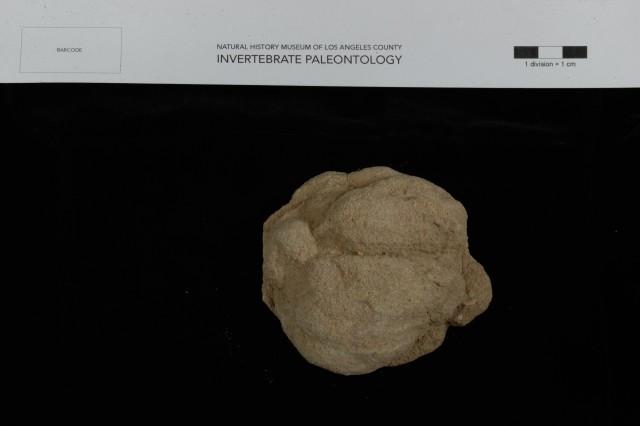
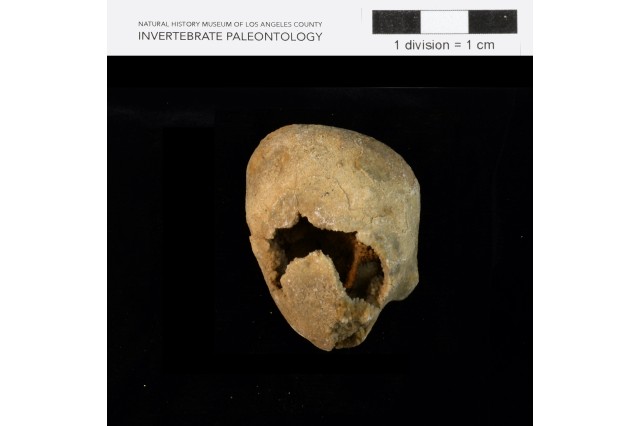
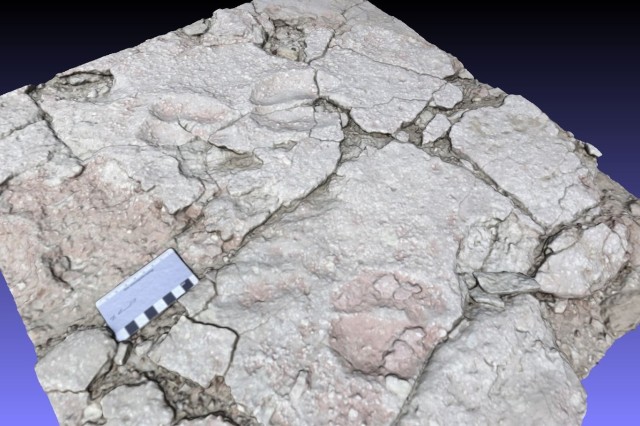
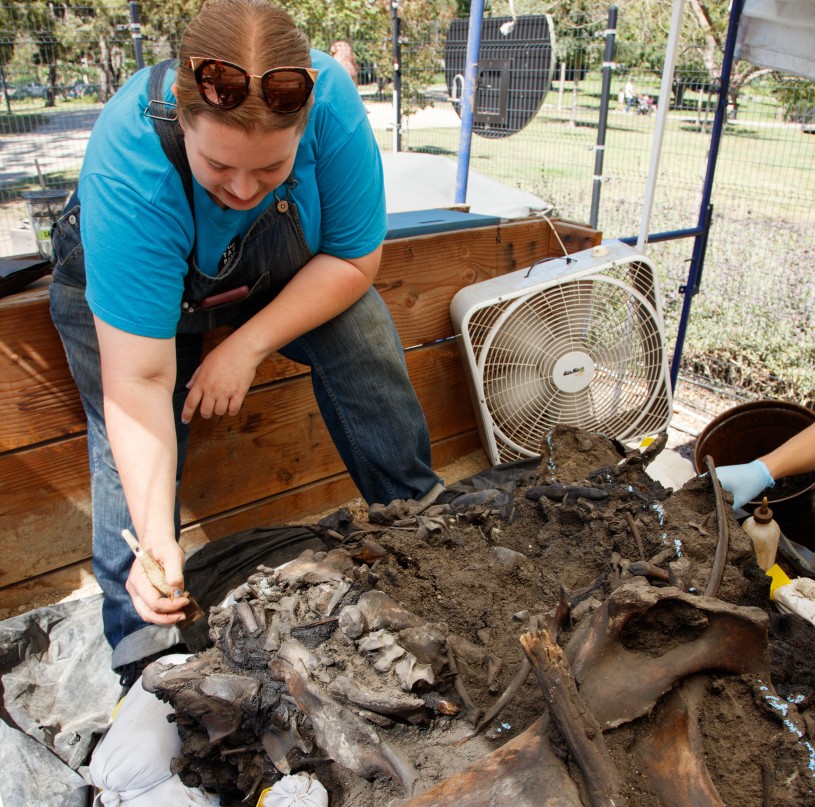
A fossil is simply any evidence of life from the ancient past, which can include footprints, skin impressions, and fossilized feces called coprolites. Typically, the hard parts of an animal, such as its bones, are more likely to be preserved than soft tissues such as skin or hair. Even fossils of bones are still relatively difficult to find. Among the most common fossils found around Los Angeles are the hard parts of marine animals, such as snail and clam shells. Take a look at the images below to see the variety of fossil types in the Museum’s collection.
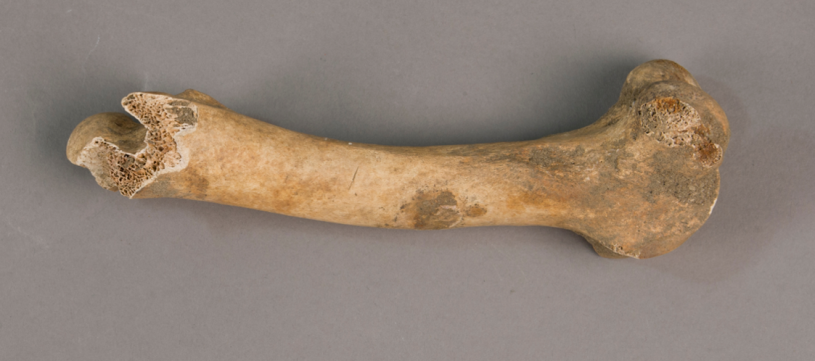
Not all bones found underground are old enough to be fossils. Sometimes we find bones in the ground that have not yet turned to stone, such as this 100- year-old sheep bone dug up in Expo Park. This fossil can be seen in the L.A. Underwater: The Prehistoric Sea Beneath Us exhibition:
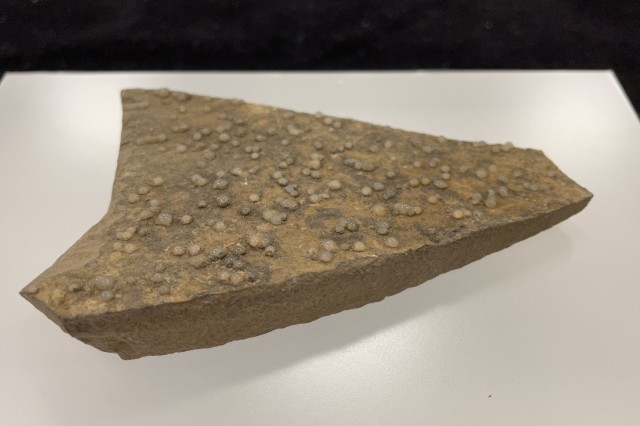
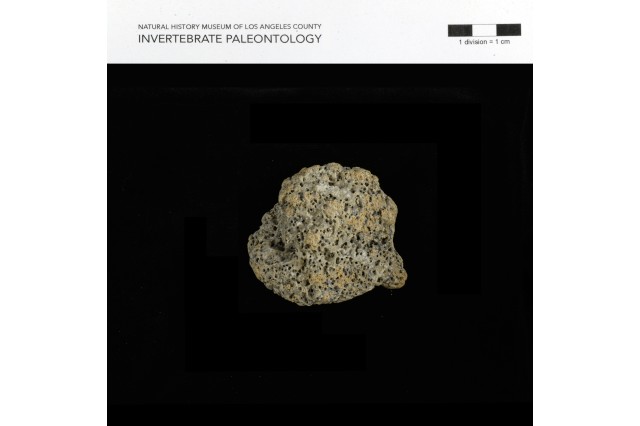
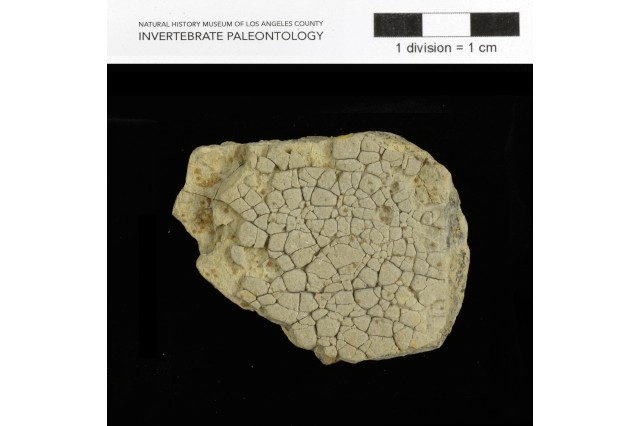
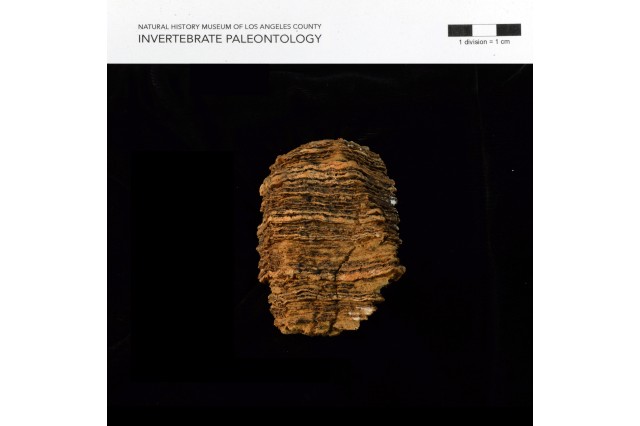
Sometimes we find objects that look similar to fossils but are actually called pseudofossils. Pseudofossils are made from inorganic (non-living) rocks that have been shaped by wind, water, and time to look like fossils. Below are examples of commonly found pseudofossils in Los Angeles.
Documenting your discovery
Taking time to document your finding properly is a very important step. Follow the steps below to work through the process of science!
We encourage you to download the DOING SCIENCE! Observations of My Discovery worksheet to help guide you. Note: Do not resize the document or scale to print. The scale bar on the margin is set to print on 8.5” x 11” paper.
To get started, gather your supplies.
- Download and print DOING SCIENCE! Observations of My Discovery worksheet (Note: Do not resize the document or scale to print. The scale bar on the margin is set to print on 8.5” x 11” paper.) If you don’t have access to a printer, grab a notebook and a ruler with centimeters.
- Grab a smartphone or camera and a map
Step 1: Measuring your discovery
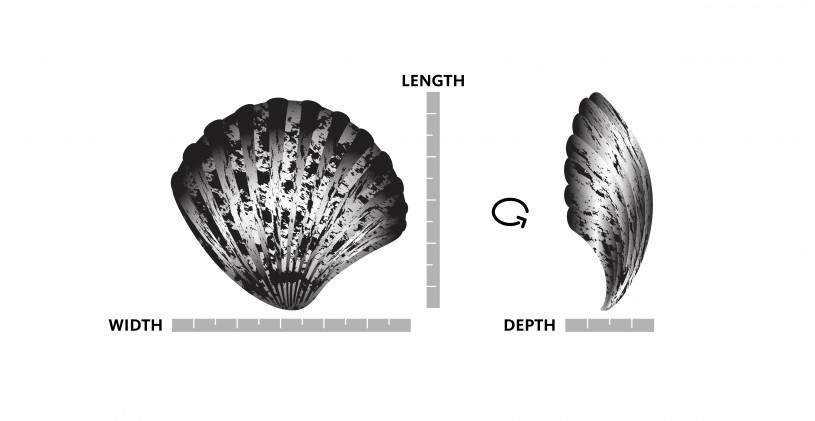
Knowing the size of the object is essential. You can use a ruler or a scale bar to measure your discovery. In science, we use the metric scale to measure.
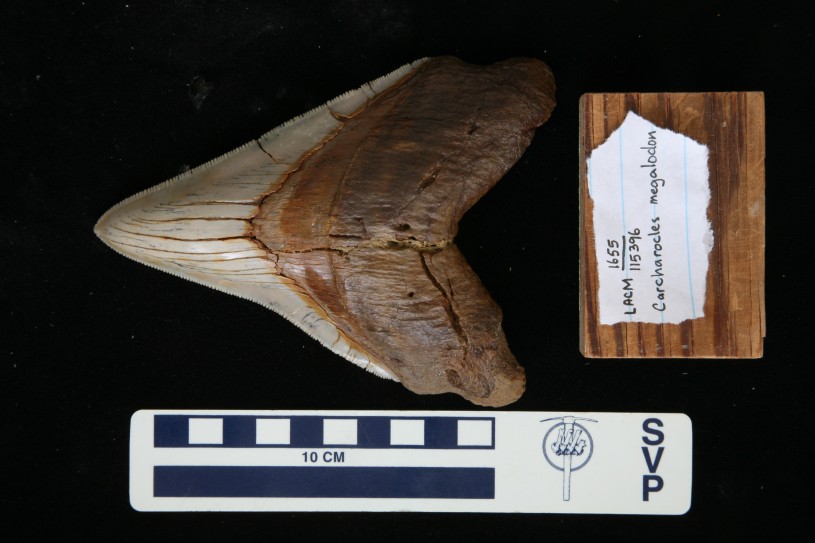
A scale bar is a handy tool that can help you document what you found and is essential to someone helping you identify your discovery. A scale bar is included in this downloadable worksheet.
Record the following measurements:
- Length (cm)
- Width (cm)
- Depth (cm)
Step 2: Take photos of your discovery
Place the printed scale bar next to the object. The photo below is an example of how to place your scale bar next to your object. If you don’t have a scale bar, you can use a ruler with centimeters (cm) instead.
We suggest you take the following pictures of your object. Make sure to take pictures of the complete object before you zoom in on any interesting features you find.
- Your discovery with a surrounding landmark
- Your discovery and the scale bar from the top down
- Your discovery and the scale bar from the right
- Your discovery and the scale bar from the left
- The underside of your discovery (only if you can safely turn it over)
- Close up photos of any interesting parts of your discovery
Step 3: Describe where you found your discovery
The location where your object was found is very important. People who study fossils do detective work to determine how long ago rocks formed—it is hard to tell the age of a rock! The location of the rock can give you clues, so write down where the object was found.
Take note of the following:
- The city where your discovery is located.
- Nearby landmarks— Permanent landmarks can be a street name, park name, or buildings— anything that is likely to be there if someone returns to the location in the future.
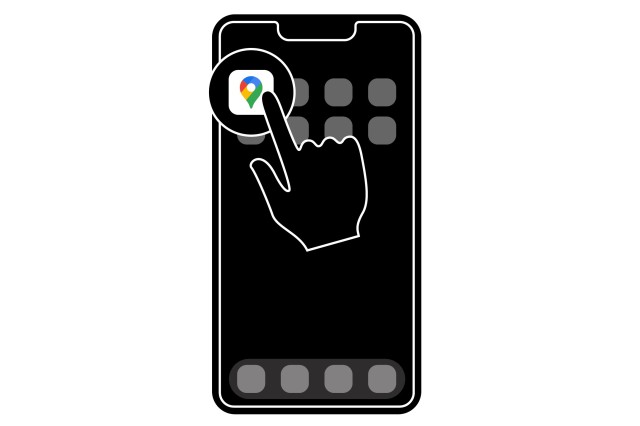
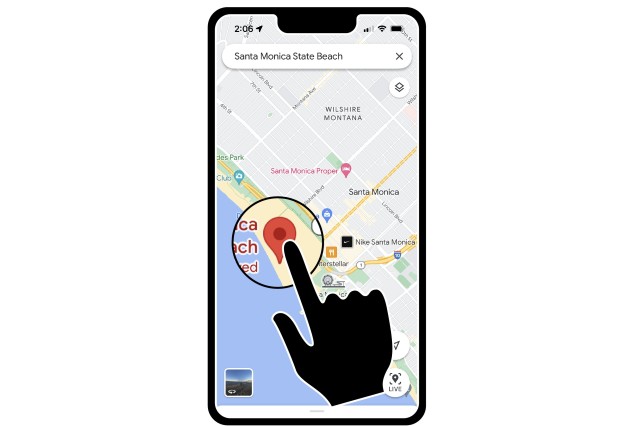
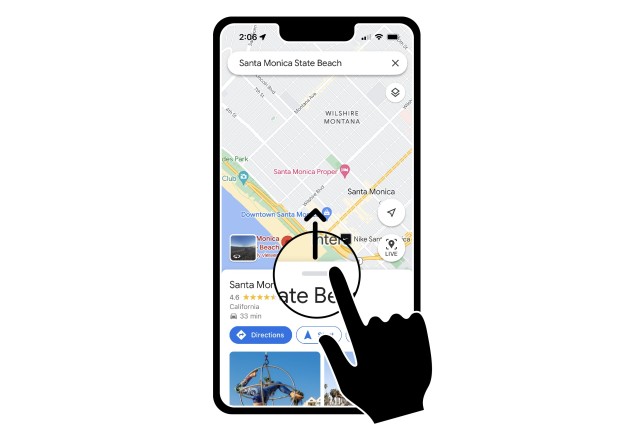
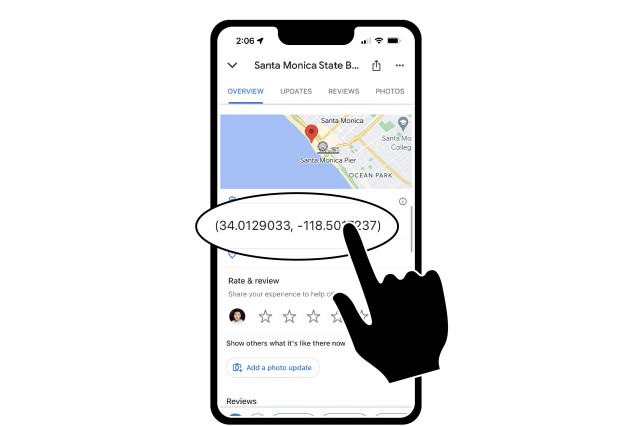
- GPS coordinates— Use a smartphone or ask an adult to help you get the GPS coordinates of your location. Below are steps to get your GPS coordinates from Google Maps on a smartphone.
You can also find the location of your object on a geological map. The USGS Geological Map Viewer is particularly helpful for determining the geological rock unit that your fossil was derived from and in determining the age of that fossil.
Step 4: Describe your discovery
Fossils come in a variety of shapes, sizes, and textures. These features help paleontologists recognize different species and understand relationships between species. To document your object, describe the following:
- Describe the shape of your discovery.
- Draw a picture of what your discovery looks like.
- What does it feel like? (Is it smooth or bumpy? Does it have ribs or spines?)
- What color is your discovery? (What colors do you see? Is it shiny or dull? How is it different from the rock around it?)
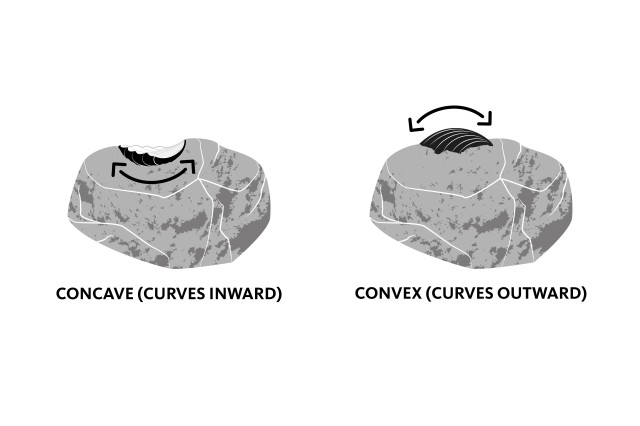
- Has your discovery left an impression that is concave or convex? (Concave means that it curves inward or is hollowed out, like a cave. Convex is the opposite of concave and is rounded outward. This is hard to see in a picture, so be sure to describe it!
Below are images showing the difference between concave and convex.
Step 5: Share what you found!
One of the best parts of doing science is sharing what you found with others! Show pictures of your discovery to your friends, family, and teachers and tell them where you found it.
I think I may have found a fossil. How can I find out more about it?
Laura Tewksbury, Preparator of Rancho La Brea, explains:
This is one of the most engaging parts of your scientific journey! You may be able to get clues from other people who may have found objects similar to your discovery, so documenting what you found is important. From there, you can talk to park rangers or park educators (if your discovery was made in a park), teachers, or conduct online research to help you understand more about your discovery. Here are some suggestions:
- MyFossil (https://www.myfossil.org)
- The Fossil Forum (both Facebook, https://www.facebook.com/groups/TheFossilForum and web-based service, http://www.thefossilforum.com)
- Digital Atlas of Ancient Life (https://www.digitalatlasofancientlife.org)
- iNaturalist (https://www.inaturalist.org)
Can the Museum help me identify my discovery?
Austin Hendy, Assistant Curator of Invertebrate Paleontology, explains:
If you have gone through all the steps above and conducted your online research and are still stumped, we are happy to help you! Here is what you need to do:
Follow all of the steps listed above and save your information and photos—you will need them to complete the form below. The DOING SCIENCE! Observations of My Discovery worksheet helps guide you to gather the information you need to complete the form. If you are under 18, ask for help and/or obtain parent/guardian permission to complete the form.
Once you have completed the form, a Museum staff member will reach out to you within 4 to 6 weeks. It takes us a bit of time to process these requests for identification, so thank you in advance for your patience.
Can I donate my discovery to the museum?
Tony Turner, Museum Educator, explains:
The exciting part of finding a fossil is that YOU found one! Your curiosity about the natural world is a big part of doing science, and paleontologists follow the same steps when they find a fossil!
The Natural History Museum and La Brea Tar Pits staff care for and study nearly 10 million fossils in the collection. So, we have to be very intentional about taking in fossils offered to us. Storage space is limited at our museums, so we only consider taking in fossils that help us fill in gaps of knowledge. More importantly, the objects must have documentation of being acquired legally and have precise information on where they were found. Without this information, we cannot conduct any scientific research.
If your fossil is relevant to the Museums' collection, we may consider the donation after you complete the Fossil Identification Request Form. If we cannot take your fossil to the collection, we encourage you to keep it to enjoy and share your knowledge with others.
