Lesson Plan by E. Dominic Black, MA Ed
suggested for k - 12th grade
Overview
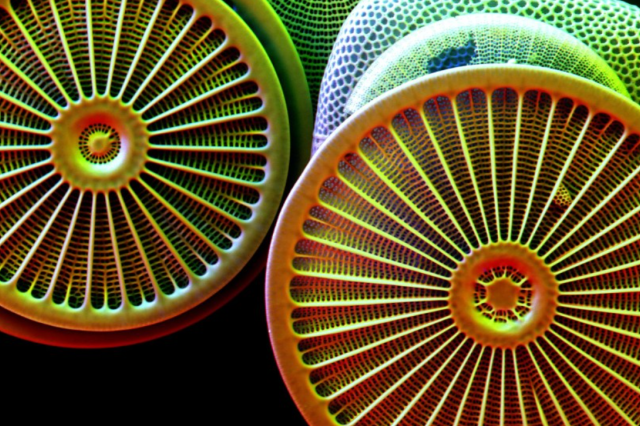
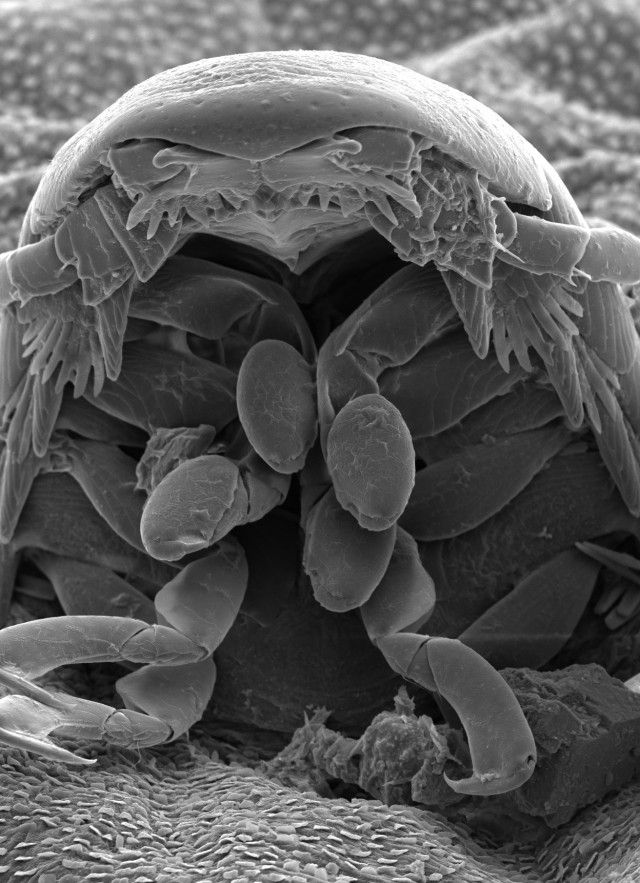
Scientists use specialized tools like the scanning electron microscope (SEM) to do research and make observations. While not everyone has the access to or training for using the SEM, a hand lens can be used by anybody to reveal the details around them! Scientists record careful observations as drawings in order to share their work with others. You can too!
objectives
- Students will create and share scientific illustrations as research based on their observations.
- Students will learn how to use a hand lens for close inspection.
- Students will understand that personal interest is important when selecting a research subject.
concepts
- Scientists use specialized tools to do research and make observations.
- While the SEM requires special access and training, a hand lens can be used by anybody to reveal details in the miniature world.
- Recording observations with drawings allows a researcher to share their work with others and is a valid and important part of the scientific method.
duration
- Setup & Breakdown: 15 minutes
- Lesson: 45 minutes
location
Museum, classroom or outdoors
MATERIALS
vocabulary
- Scanning Electron Microscope
- Hand lens
- Focus
Note: this lesson can be done anywhere students are able to view detailed objects up close–not only at the Museum. See “Variation & Extension Ideas” section for more information.
Outline
- Pre-Visit: Briefly introduce the SEM Lab. You may look at these Pre-Visit Slides, as they provide an overview.
- During a trip to the Museum, students will observe a specimen with their own eyes and through a hand lens, recording their observations with drawings.
- Time permitting: allow students to explore further with the hand lens and draw what they see.
- Post-Visit: Students create a classroom display of the artworks, modeled after the SEM Lab display at the Museum.
Pre-Visit
A Scanning Electron Microscope (SEM) is a powerful instrument that uses electrons to create a detailed image of incredibly small specimens. The Museum’s SEM Lab features the microscope itself and highlights the scientists who use it for their research. You may choose to introduce this instrument in your classroom prior to your Museum visit. The Pre-Visit Slides are a resource for this introduction. You can also share with your students that they will be using scientific tools and art tools to work as scientific researchers and illustrators.
Visit
Begin your visit in the SEM Lab, which is located in the Gem & Mineral Hall. Explain that the SEM is a powerful tool used by scientists and that it requires special training and procedures for use. You can then introduce the hand lenses as tools available to everyone to help explore one’s surroundings more closely. Explain the worksheet and read the instructions aloud for younger learners. Distribute the worksheets, pencils, hand lenses, and clipboards (if available). Students will choose one specimen from a Museum exhibit to study and draw. Keep in mind you’ll want to choose an exhibit where the distance from student to specimen is not farther than arm’s length. Students will first draw the specimen by looking at it without the hand lens. Next, they will draw a portion of the specimen as seen through the hand lens. Encourage students to label their work. Once students have had sufficient time to complete their drawings, collect supplies and continue with your Museum visit. For classroom and outdoor variations see below.
Post-Visit
Ideally students will finish their drawings on location while looking at their specimens. You may choose to allow students to take photos of their specimens and finish drawing after the Museum visit. Back in the classroom, students are encouraged to create a display of their artworks.
Variation & Extension Ideas
- In the Museum it may be helpful to start at the SEM, to connect students with the ideas of close-looking and magnification. Other Museum areas you may consider for this activity include the Nature Gardens and the insect displays in the Discovery Center.
- This activity can also be done in the classroom or outdoors, so long as students have access to objects they can observe in-person and close-up. Some examples are plants, shells and rocks.
- Students with mobile phones and/or those with tablets may use the camera to photograph and zoom into their images. Using an electronic device in this way is similar to using the hand lenses and especially useful for collections behind protective barriers. This also gives students the opportunity to finish the activity back in the classroom with a photo as their reference.
Other Considerations
- Visually impaired students with limited sight might especially appreciate using hand lenses to explore their world up-close.
- Although hand lenses are a scientific tool, there are many inexpensive styles available.
- Some of the minerals on display in the Gem & Mineral Hall are touchable. Students with sensory sensitivity might select one of these specimens to complement their visual observations with information learned through touching.
SEM Lab FAQs
Will my students be able to use the Scanning Electron Microscope during their visit?
- No, the SEM is a powerful research tool used only by Museum staff who have specialized training and expertise. The SEM is always visible to Museum visitors through the window in the SEM Lab.
Will a scientist be demonstrating how the Scanning Electron Microscope works during our visit?
- There may be a Museum scientist working with the SEM during your visit, but there is no scheduled programming. You will be able to look at the SEM from behind glass and learn how the SEM works through exhibit pictures and text.
Standards
VAPA
PK.VA:Cr1.1
Prof.VA:Pr5
NGSS
Scale, Proportion & Quantity (MS-PS1-1, MS-LS1-1)

